
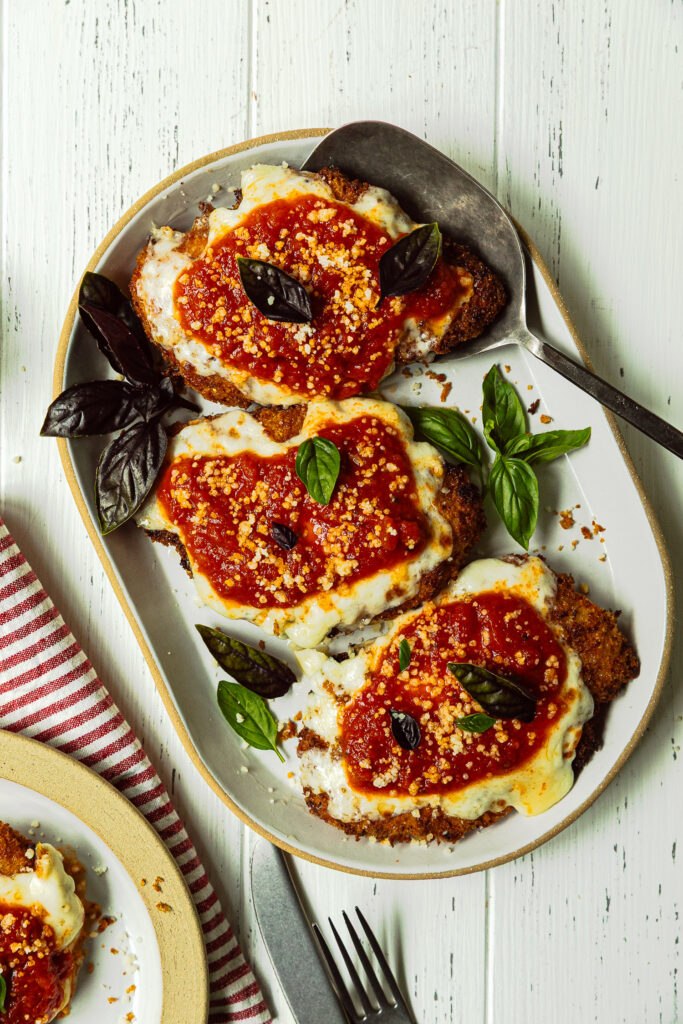
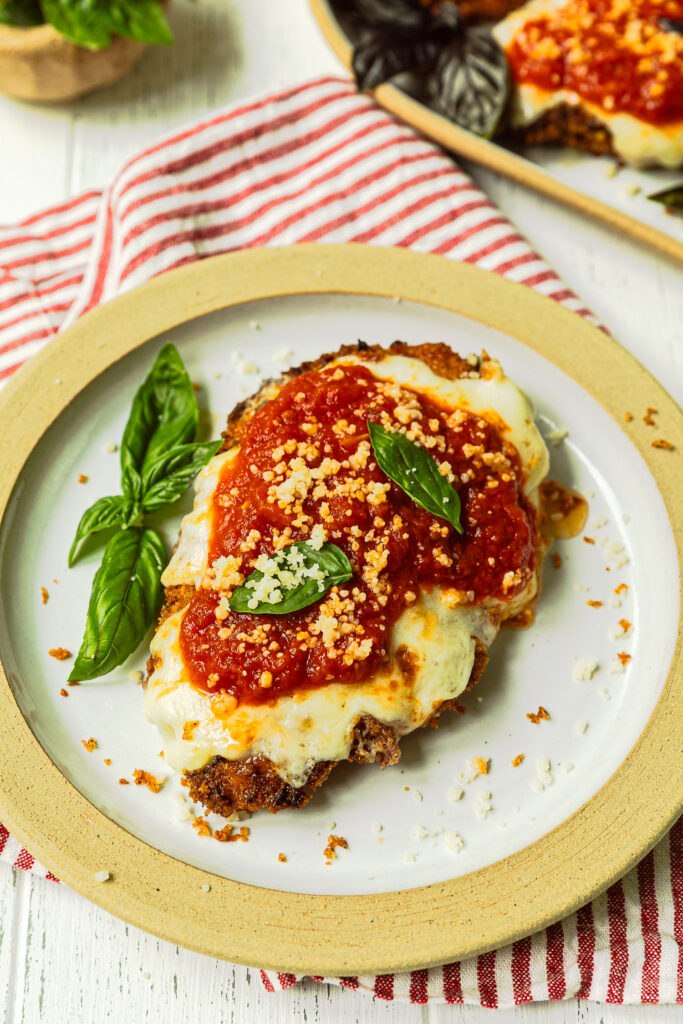
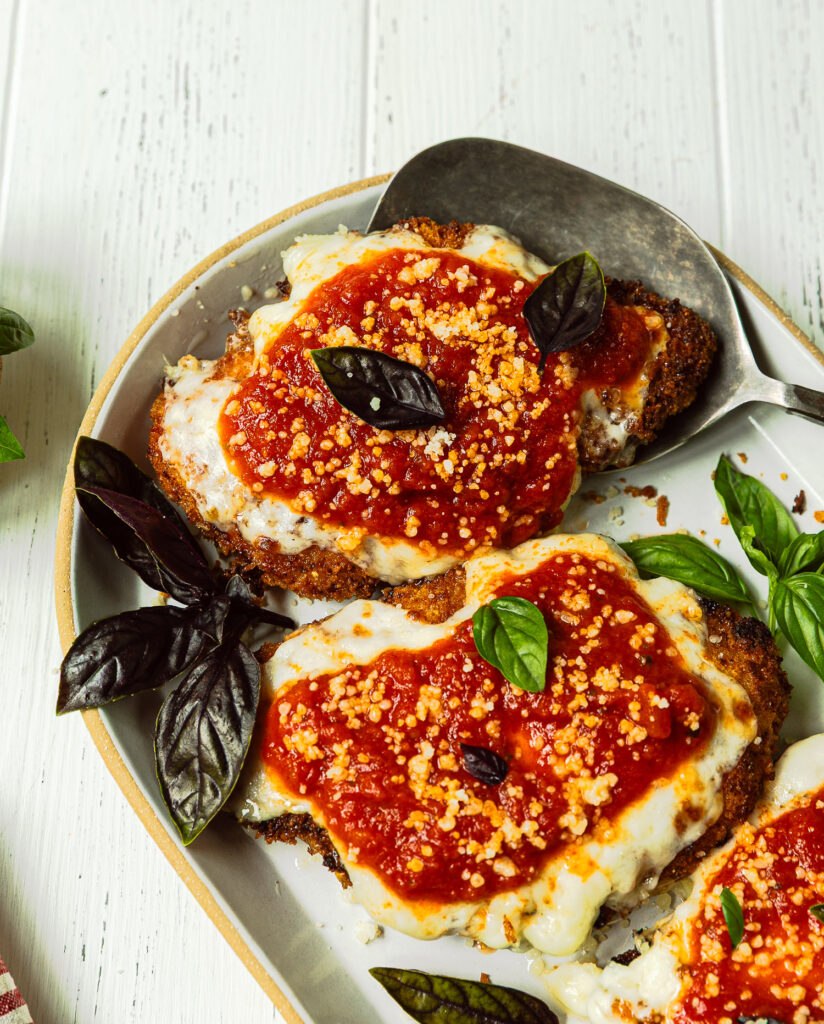
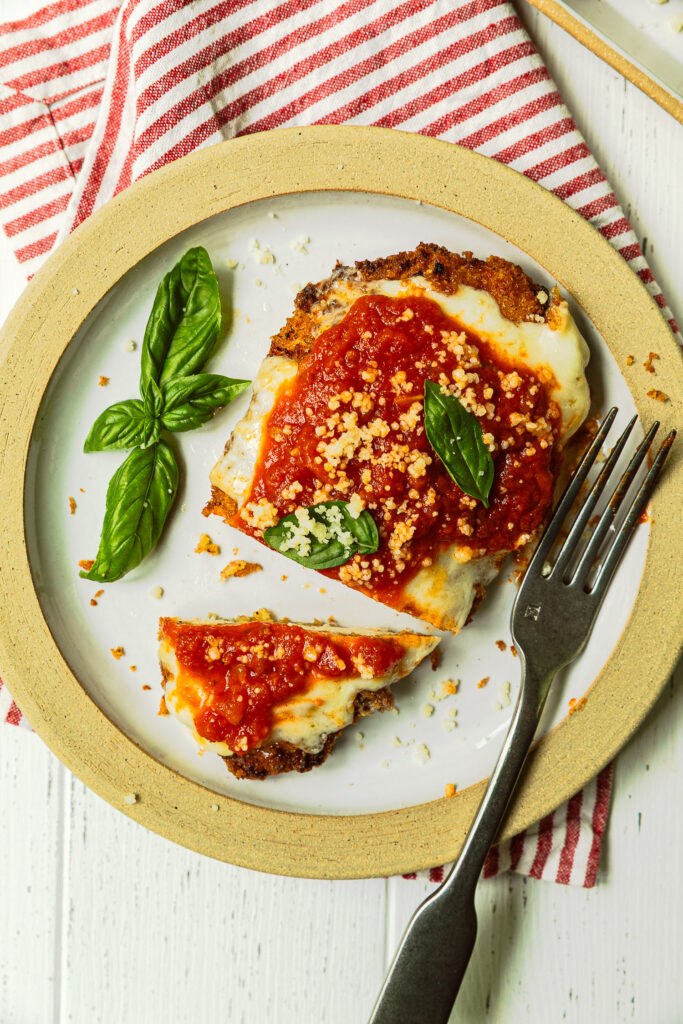
There are few things in this world more satisfying than a perfectly crispy, cheesy, saucy Chicken Parmesan. But let’s be honest—most Chicken Parm out there is a sad, soggy mess. The crispy breading turns to mush under a blanket of sauce, the chicken is either dry or rubbery, and the whole thing is just… fine (like pizza, even a bad chicken Parm is still pretty good). And if I’m making Chicken Parmesan, I don’t want fine—I want the best. So, I went on a mission to create the ultimate Chicken Parm recipe: crispy and golden on the outside, juicy and flavorful on the inside, with a cheesy, saucy topping that enhances instead of destroys all that hard-earned crispiness. Spoiler alert: It’s a bit fussy. But I promise you, it’s worth it.
This recipe borrows brilliance from the greats. The buttermilk brine, inspired by J. Kenji Lopez-Alt on seriouseats.com, keeps the chicken juicy and well-seasoned throughout. America’s Test Kitchen gets credit for the reverse topping method—cheese first, then sauce—to keep the breading from turning into a sad, soggy sponge. The double-fry technique ensures an ultra-crisp crust that stands up to the sauce and cheese. And for maximum flavor, we’re using not just mozzarella, but also Fontina and plenty of Parmesan in the breading. Because why settle for just okay when you can have life-changing Chicken Parmesan?
The History of Chicken Parmesan
Despite what the name suggests, Chicken Parmesan is not actually from Italy—at least not in the way we know it. It’s an Italian-American adaptation of Eggplant Parmesan (Parmigiana di Melanzane), a Southern Italian dish featuring fried eggplant slices layered with tomato sauce and cheese. Italian immigrants in the U.S., particularly in New York, took that concept and applied it to chicken, which was more readily available and affordable in America. The result? A crispy, saucy, cheesy masterpiece that became an Italian-American staple, forever cementing itself as a comfort food classic.
What’s in a Traditional Chicken Parmesan?
A classic Chicken Parmesan typically consists of:
- Chicken cutlets: Thinly pounded or sliced boneless, skinless chicken breasts.
- Breading: A standard three-step process—flour, egg wash, and seasoned breadcrumbs (often with Parmesan mixed in).
- Frying: Usually in vegetable oil until golden and crisp.
- Cheese: Mozzarella and Parmesan are the go-to choices.
- Marinara sauce: A simple tomato sauce, sometimes homemade, sometimes straight from the jar.
- Baking or broiling: The breaded, fried chicken is topped with sauce and cheese, then finished in the oven or under the broiler until bubbly and golden.
Sounds great, right? Well, sure, but traditional methods often lead to sogginess, dryness, or blandness. That’s where my version takes things to the next level.
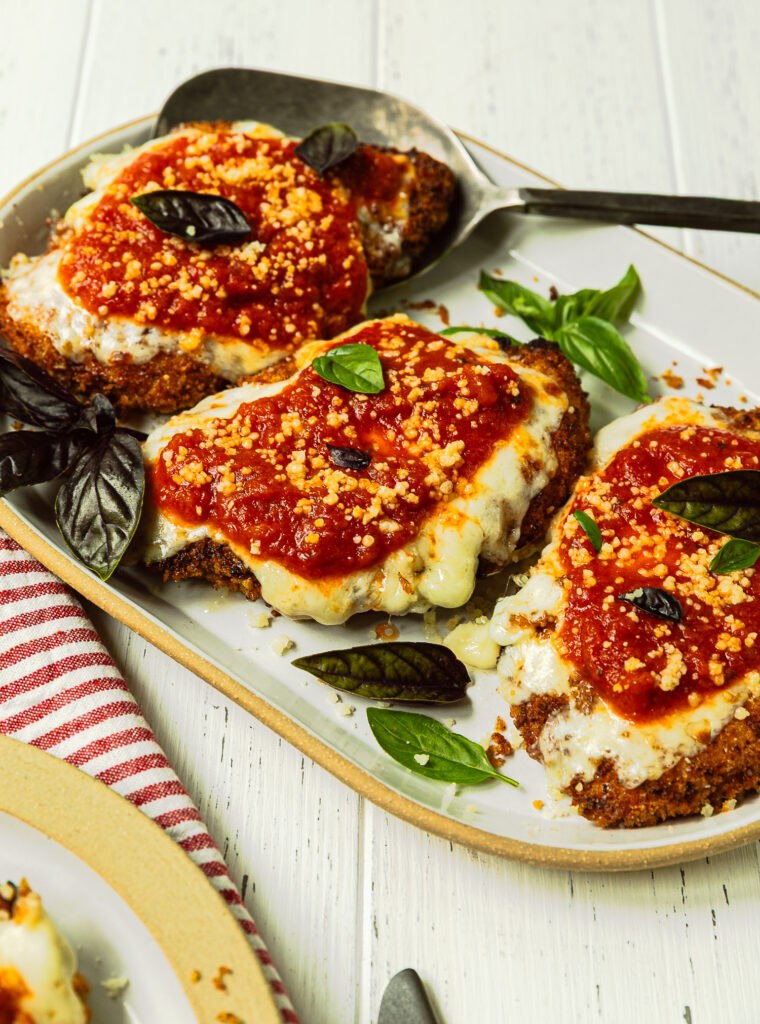
What Makes This Recipe the Best?
1. Buttermilk Brine for Maximum Flavor
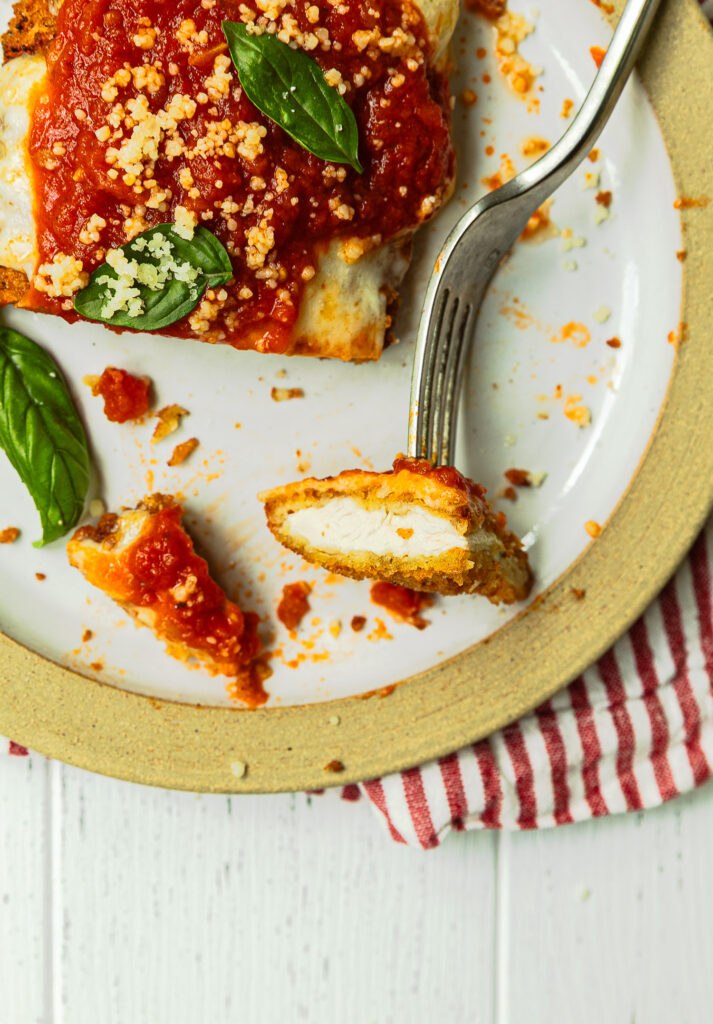
Brining the chicken in buttermilk (plus garlic and salt) not only infuses it with flavor but also tenderizes the meat. It keeps the chicken juicy and helps the breading adhere beautifully.
2. Parmesan-Panko Breading for Extra Crispiness
Instead of plain breadcrumbs, we use a mix of panko, ground Parmesan, and potato starch. The panko gives us that signature crunch, the Parmesan adds flavor, and the potato starch helps absorb moisture, keeping things ultra-crispy.
3. The Double-Fry Technique
Once the chicken is fried to golden perfection, we let it rest, then give it a quick second fry. Why? This extra step drives off any lingering moisture, ensuring that the cutlet stays crispy—even after it’s topped with cheese and sauce.
4. Reverse Topping Order: Cheese Before Sauce
Rather than drowning the chicken in marinara before adding cheese, we top it with cheese first, then sauce. This creates a protective barrier, keeping the breading from getting soggy while still delivering all the cheesy, saucy goodness.
5. Fontina for Extra Flavor
Most recipes stick with mozzarella and Parmesan, but adding Fontina takes the cheesy factor to the next level. It melts beautifully, has a mild nuttiness, and complements the other flavors perfectly.
Equipment Needed
- Plastic cutting board
- Chef’s knife
- Measuring cups and spoons
- Liquid measuring cups
- Meat pounder
- Food scale
- Glass mixing bowls
- Box grater
- 8-cup food processor
- 12-inch stainless-steel tongs
- Large sheet pan with wire rack
- 12-inch stainless-steel skillet with lid
- 2-quart saucepan
- Instant-read thermometer
How to Make It: The Key Steps
- Brine the Chicken – Let the cutlets soak in buttermilk, garlic, and salt for at least 4 hours (or overnight for best results).
- Bread the Cutlets – Dredge them in seasoned flour, then egg wash, then the Parmesan-panko mixture. Let them rest so the breading adheres properly.
- Fry Until Golden – Fry in hot oil until beautifully crispy, then let them rest while keeping the oil hot.
- Refry for Extra Crispiness – A quick second fry ensures they stay crisp even after adding cheese and sauce.
- Broil with Cheese First – Top with mozzarella, Fontina, and more Parmesan, then broil until bubbly and golden.
- Finish with Marinara & Basil – Finally, spoon warmed marinara over the crispy, cheesy cutlets and garnish with fresh basil.
Tips for the Crispiest Chicken Parmesan
- Pound the chicken evenly – Uneven thickness means uneven cooking. Get those cutlets nice and uniform.
- Let the breading rest – After coating the chicken, let it sit for 10-15 minutes. This helps the breading stick and prevents it from sliding off in the oil.
- Use the right oil temperature – Too cool, and the chicken will absorb grease. Too hot, and the breading will burn before the inside cooks. Stick to 375–400°F.
- Don’t skip the second fry – I know it sounds extra, but trust me—this is the key to the crispiest Chicken Parm of your life.
- Broil, don’t bake – Baking can make the breading soggy. A quick broil melts the cheese without compromising the crunch.
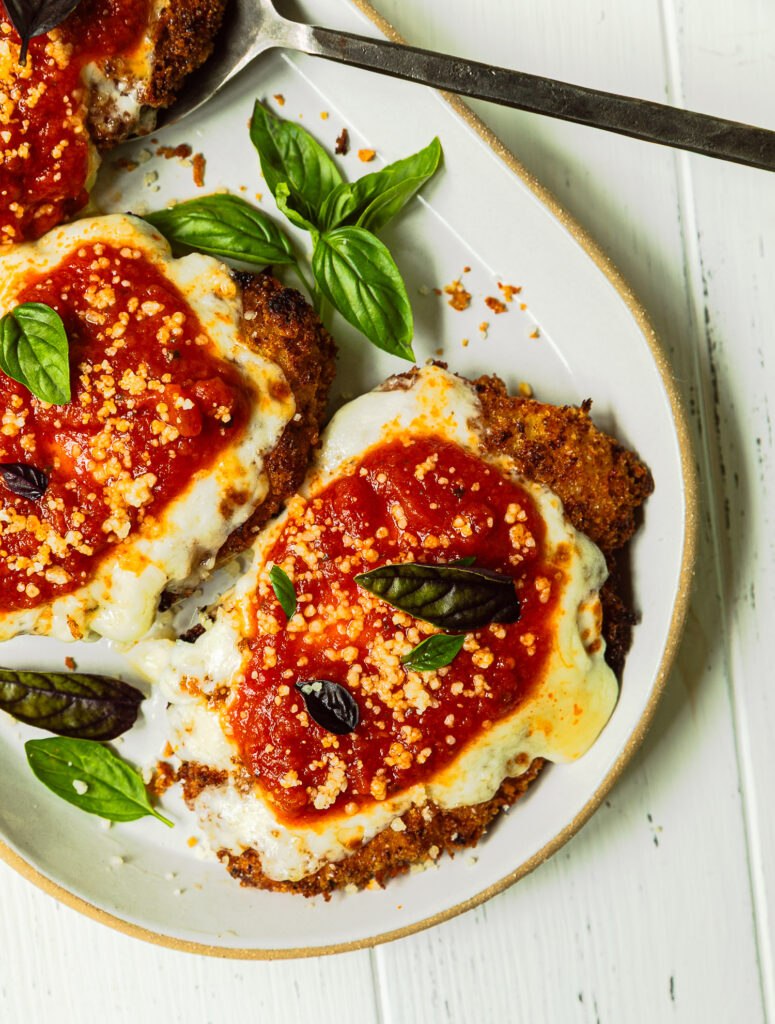
Is this a bit of a fussy recipe? Yes. Is it worth it? Also yes. If you’re going to go through the trouble of making Chicken Parmesan, you might as well make the absolute best version. This one delivers on all fronts—crispy, cheesy, saucy, and ridiculously flavorful. So, grab some buttermilk, crank up the broiler, and get ready to experience Chicken Parmesan the way it was meant to be.
Happy cooking!
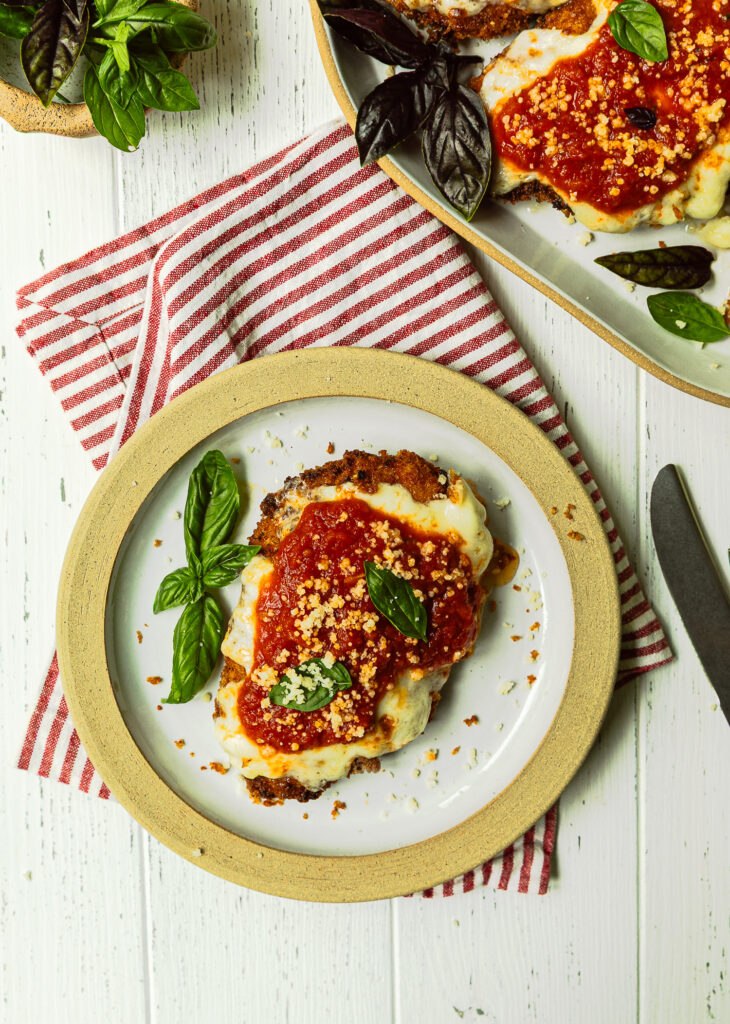
[tasty-recipe id=”48249″]
Yum!! Looks delicious!
Thanks, Laura!